Cooking chicken breast in the instant pot is quick, easy and so hands-off! It’s perfect for meal prep or if you quickly need some shredded chicken for a recipe. This recipe works great on the Trim Healthy Mama plan, but also for any healthy diet!
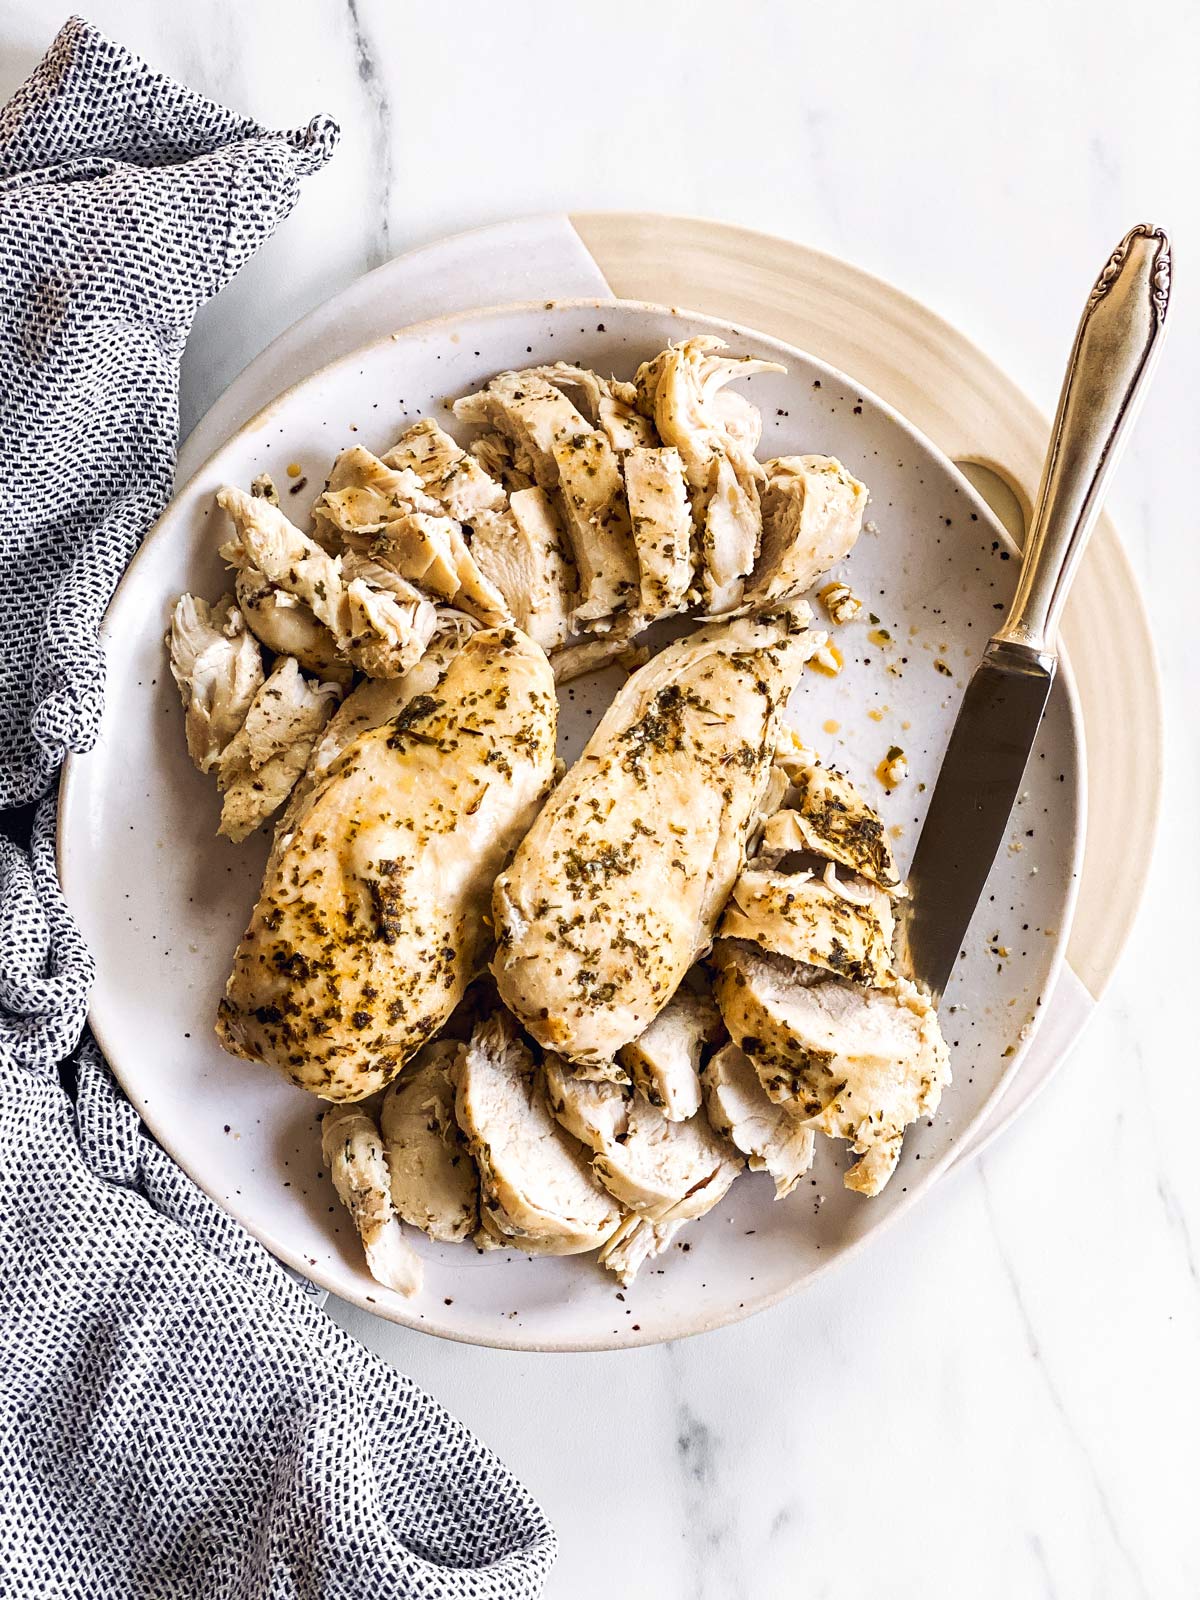
I really don’t like buying pre-cooked or canned chicken. I’m pretty difficult with meat anyways, so I really want to cook it from scratch. I do make an exception for rotisserie chicken (so good!), but well… One cannot always count on having rotisserie chicken at home.
I would mostly avoid recipes that call for cooked chicken, because in my current season of life, every extra cooking step seems like a huge burden.
But ever since I realized how quickly and easily I can cook chicken breast in my pressure cooker? Total game changer! Let me show you how it works.
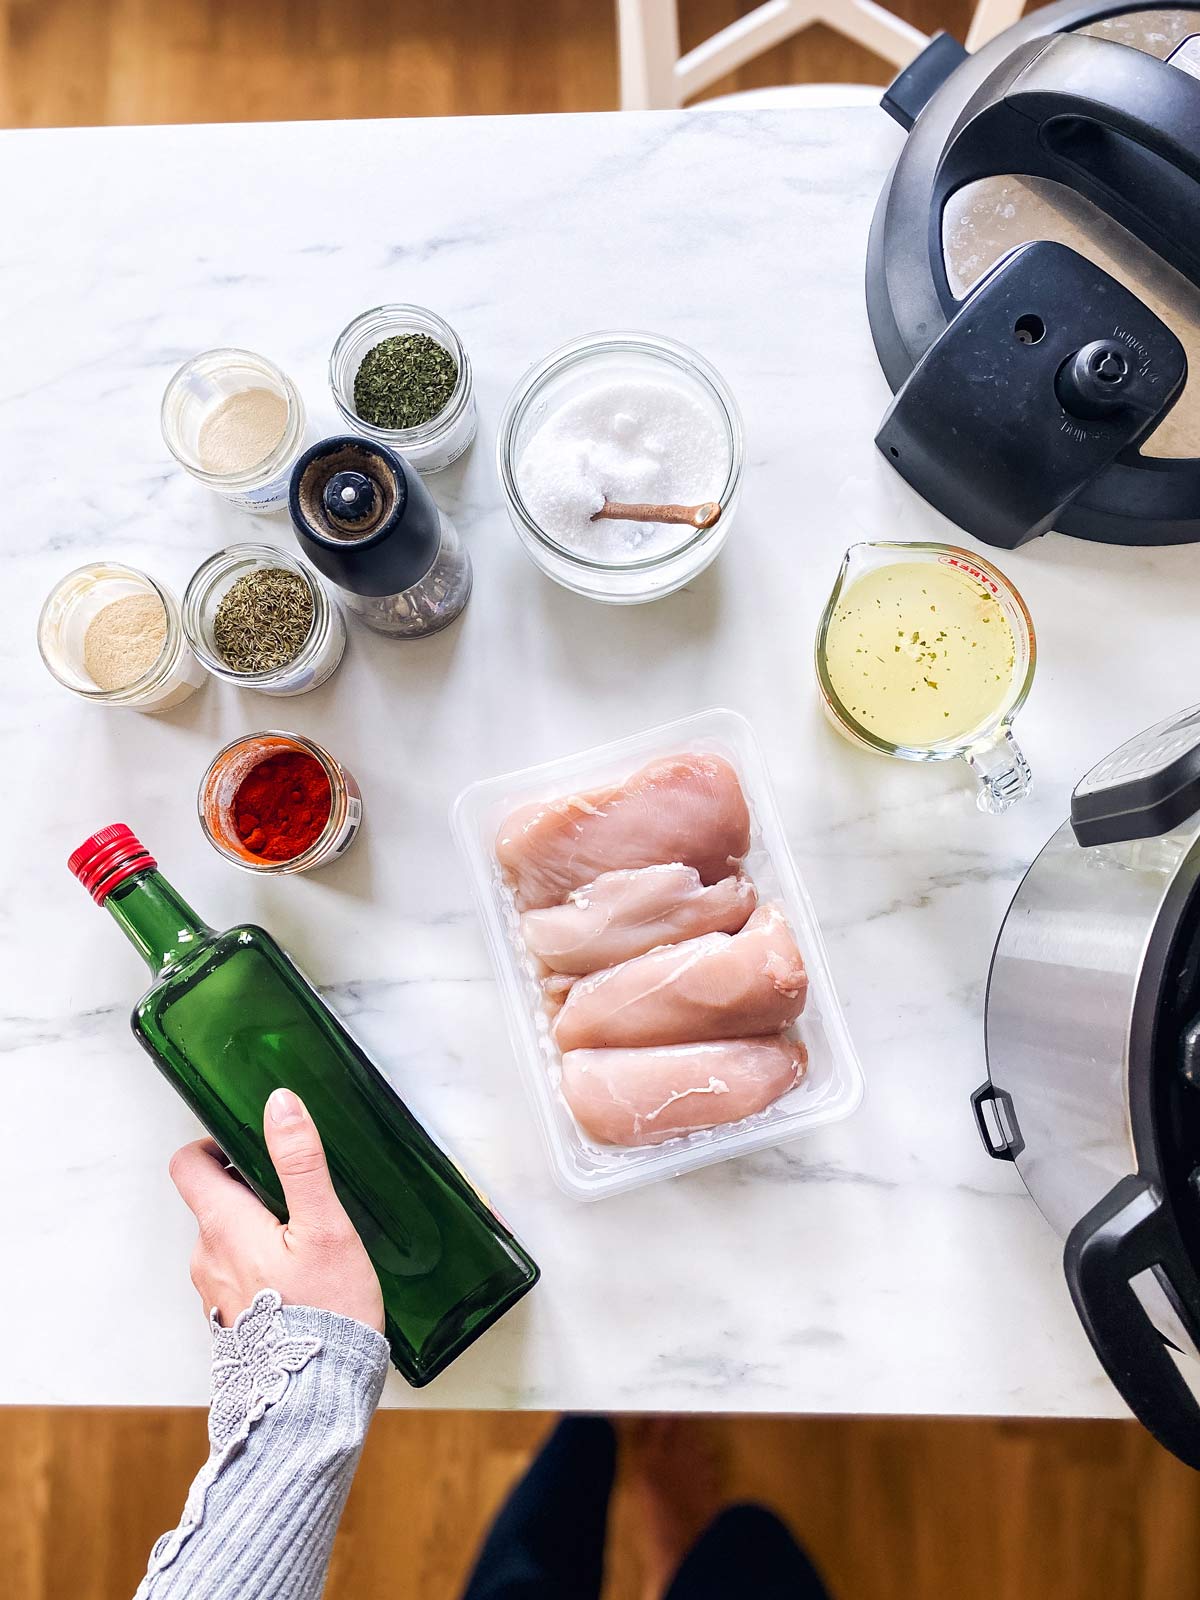
Ingredients you’ll need
This is just an overview for quick reference. For quantities, skip to the recipe card.
Ingredient notes
- Chicken: The biggest difference I notice in higher quality chicken is how much less it shrinks during cooking. So do make sure to keep this in mind when choosing which chicken to buy for this recipe. I’ll be honest, I used the cheapest grocery store chicken here and I could tell a big difference vs chicken from the local farm.
- Oil: Feel free to use melted butter in place of the oil for a richer taste.
- Seasoning: This is my go-to seasoning for chicken. Feel free to make up your own seasoning. Sometimes I use seasoning salt to make it easier, but using the individual spices does really add more flavor.
Step by step photos
This recipe really is ridiculously easy. You season the chicken breast, pop it on the rack in the instant pot with a cup of broth and then pressure cook.
Let me walk you through the crucial steps to make sure your chicken comes out perfectly!
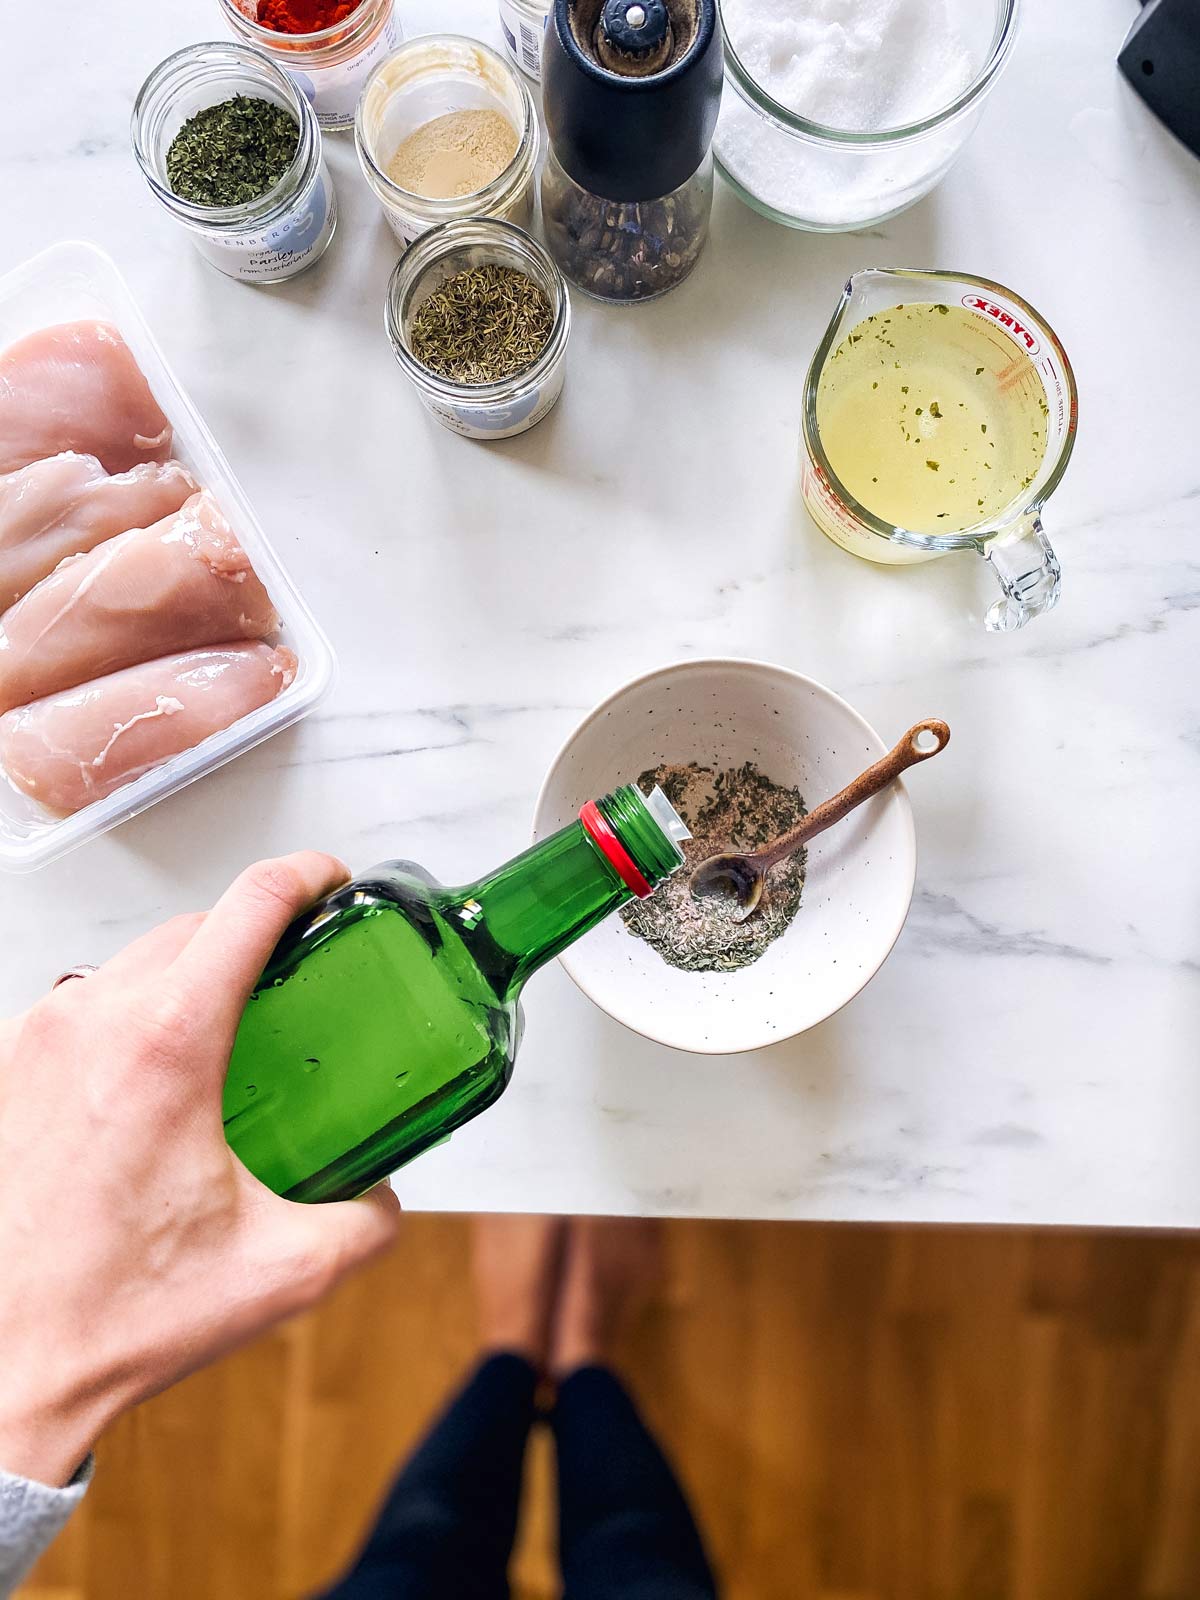
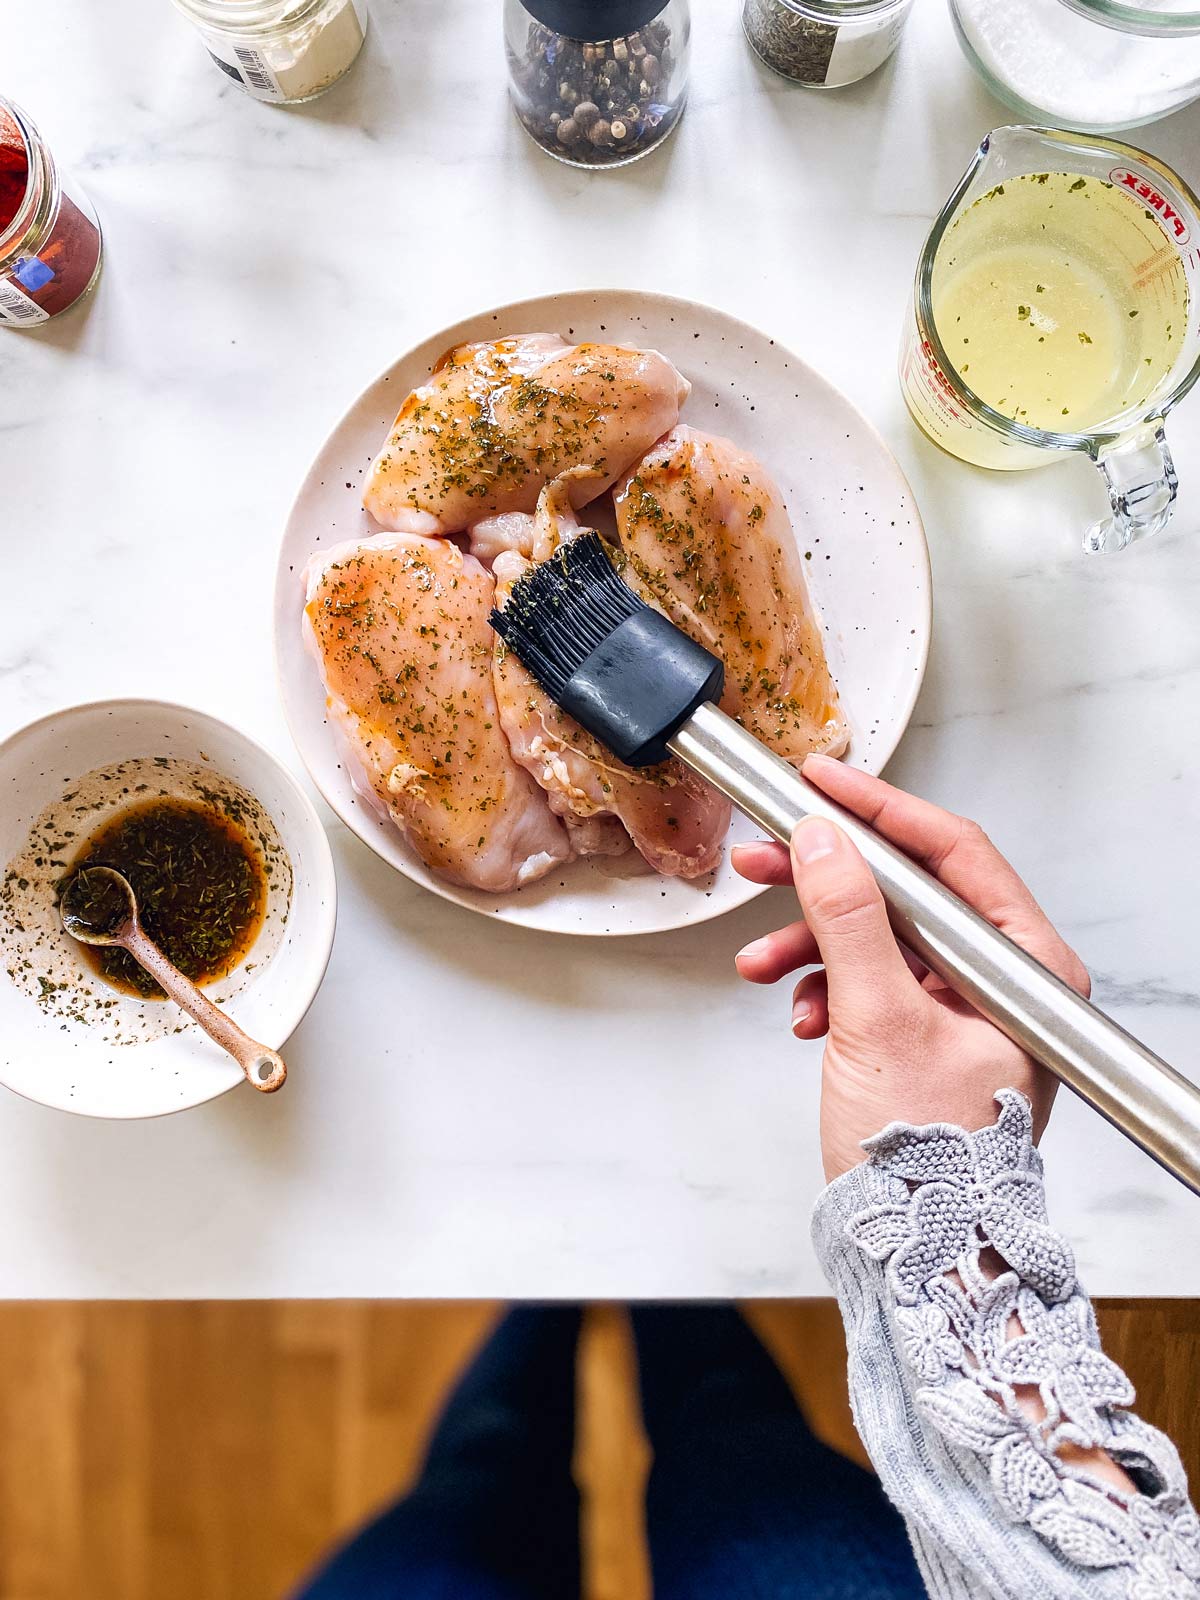
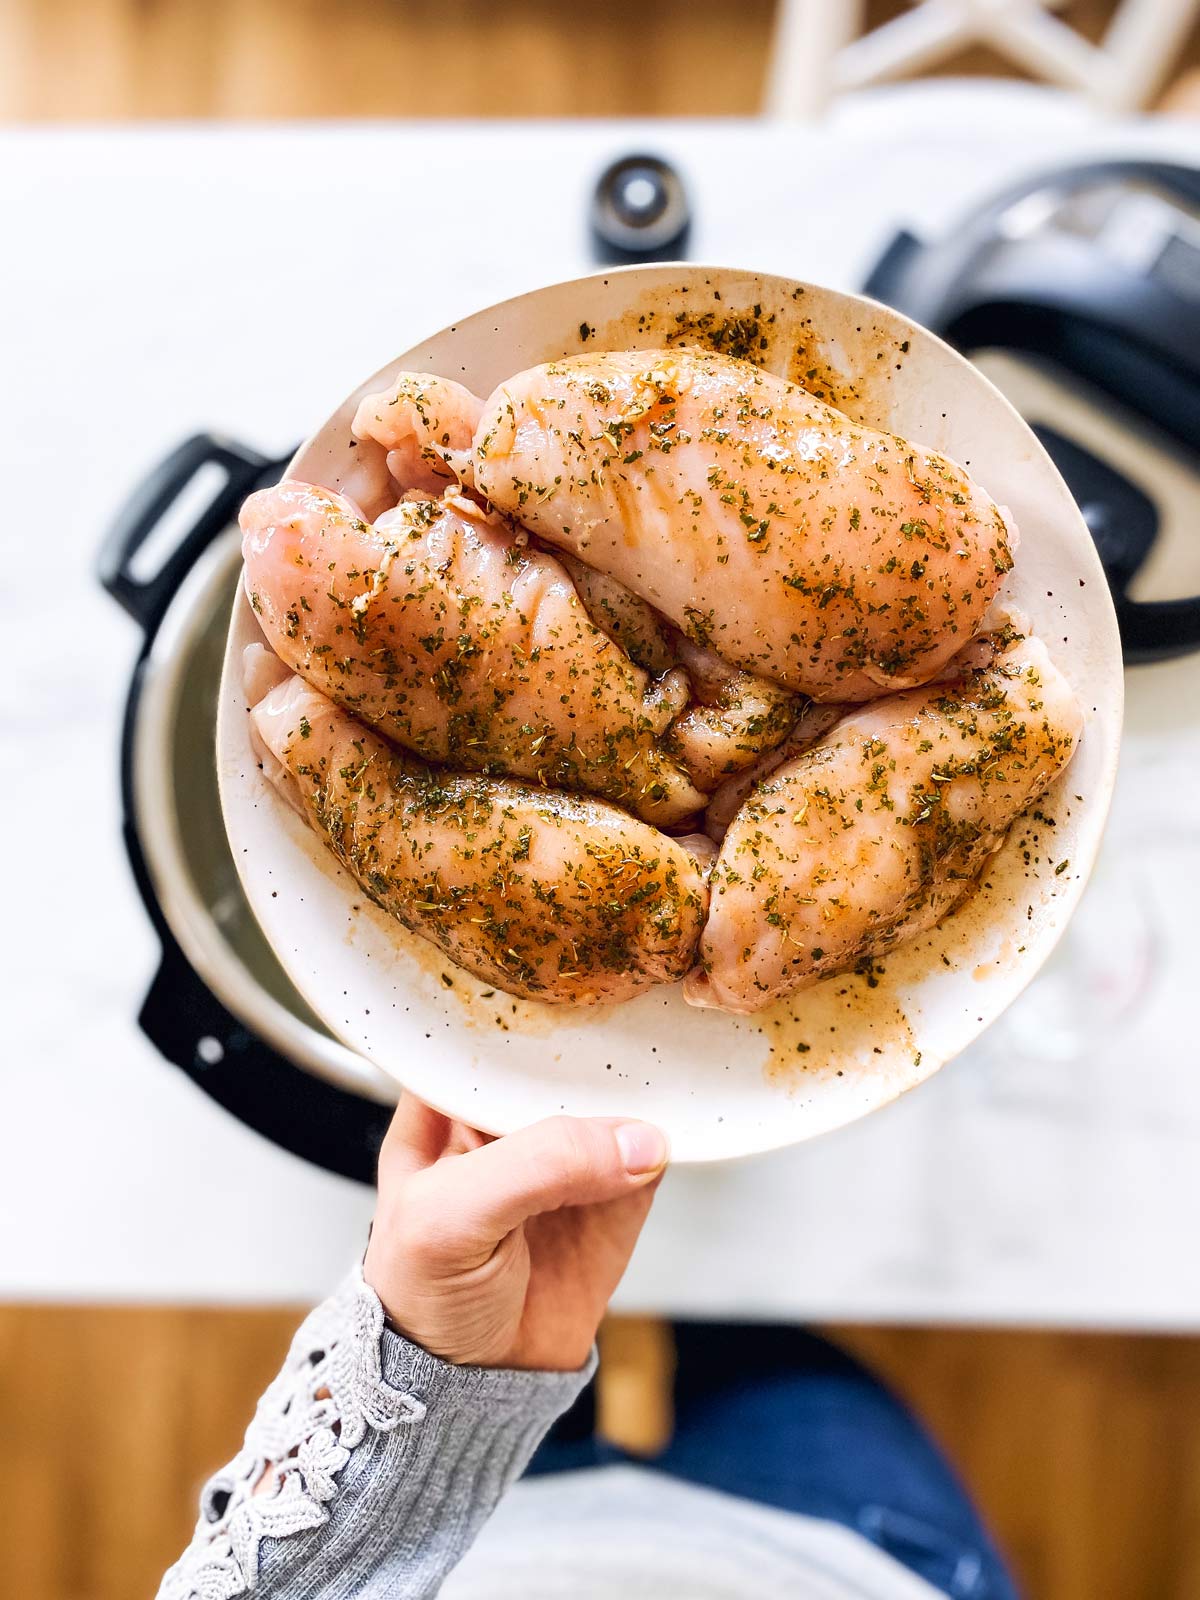
That’s pretty much the hardest part of the recipe done. Now all you have to do is cook the chicken correctly in your pressure cooker.
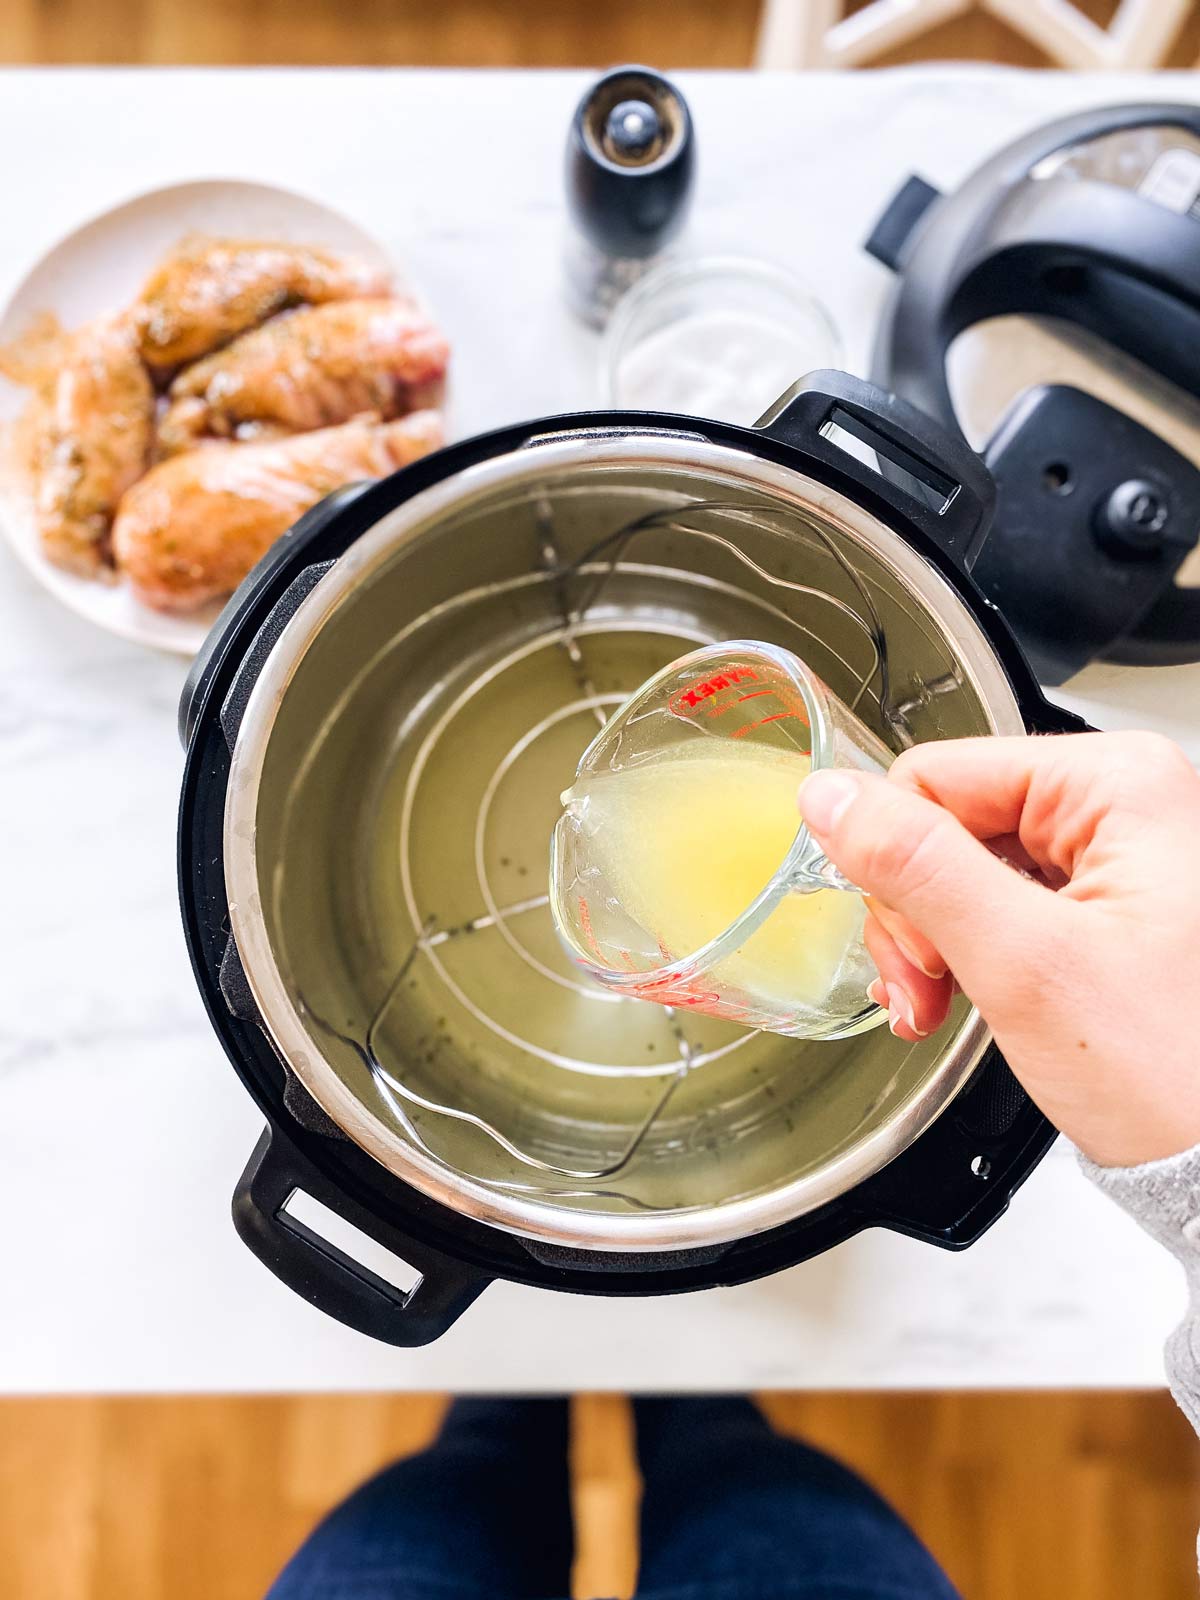
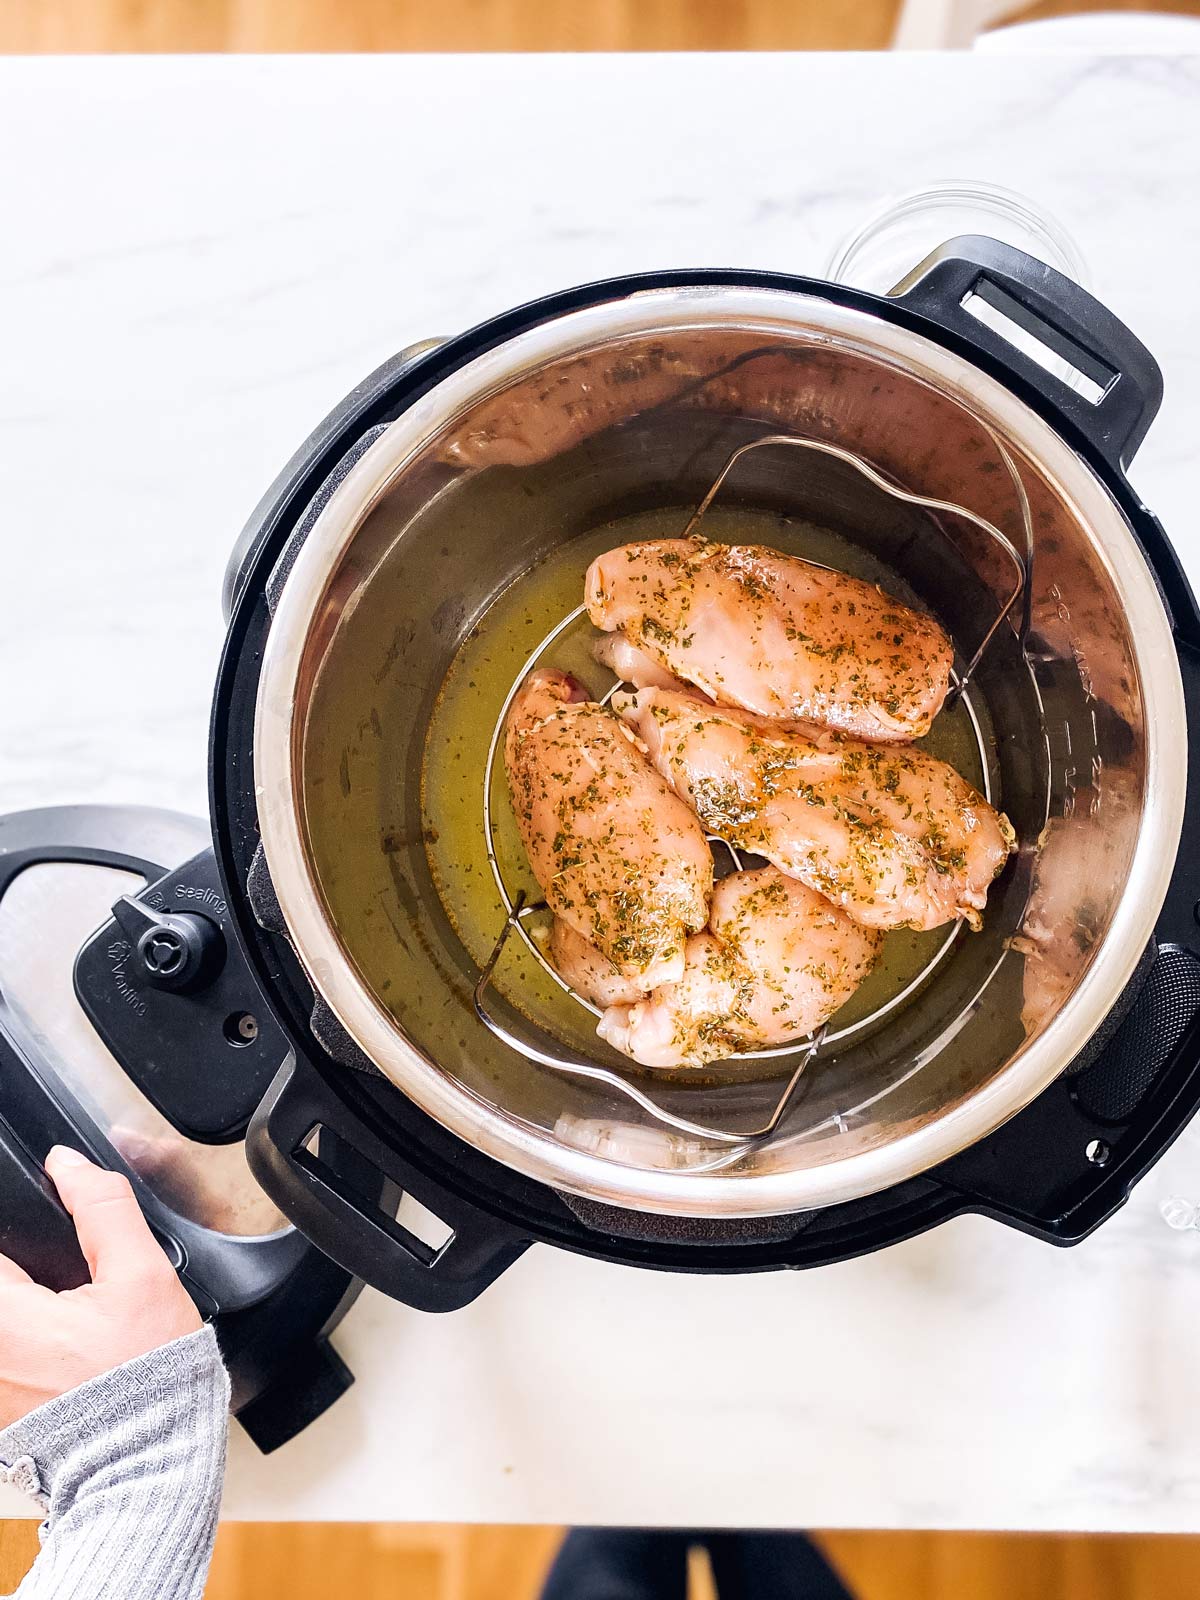
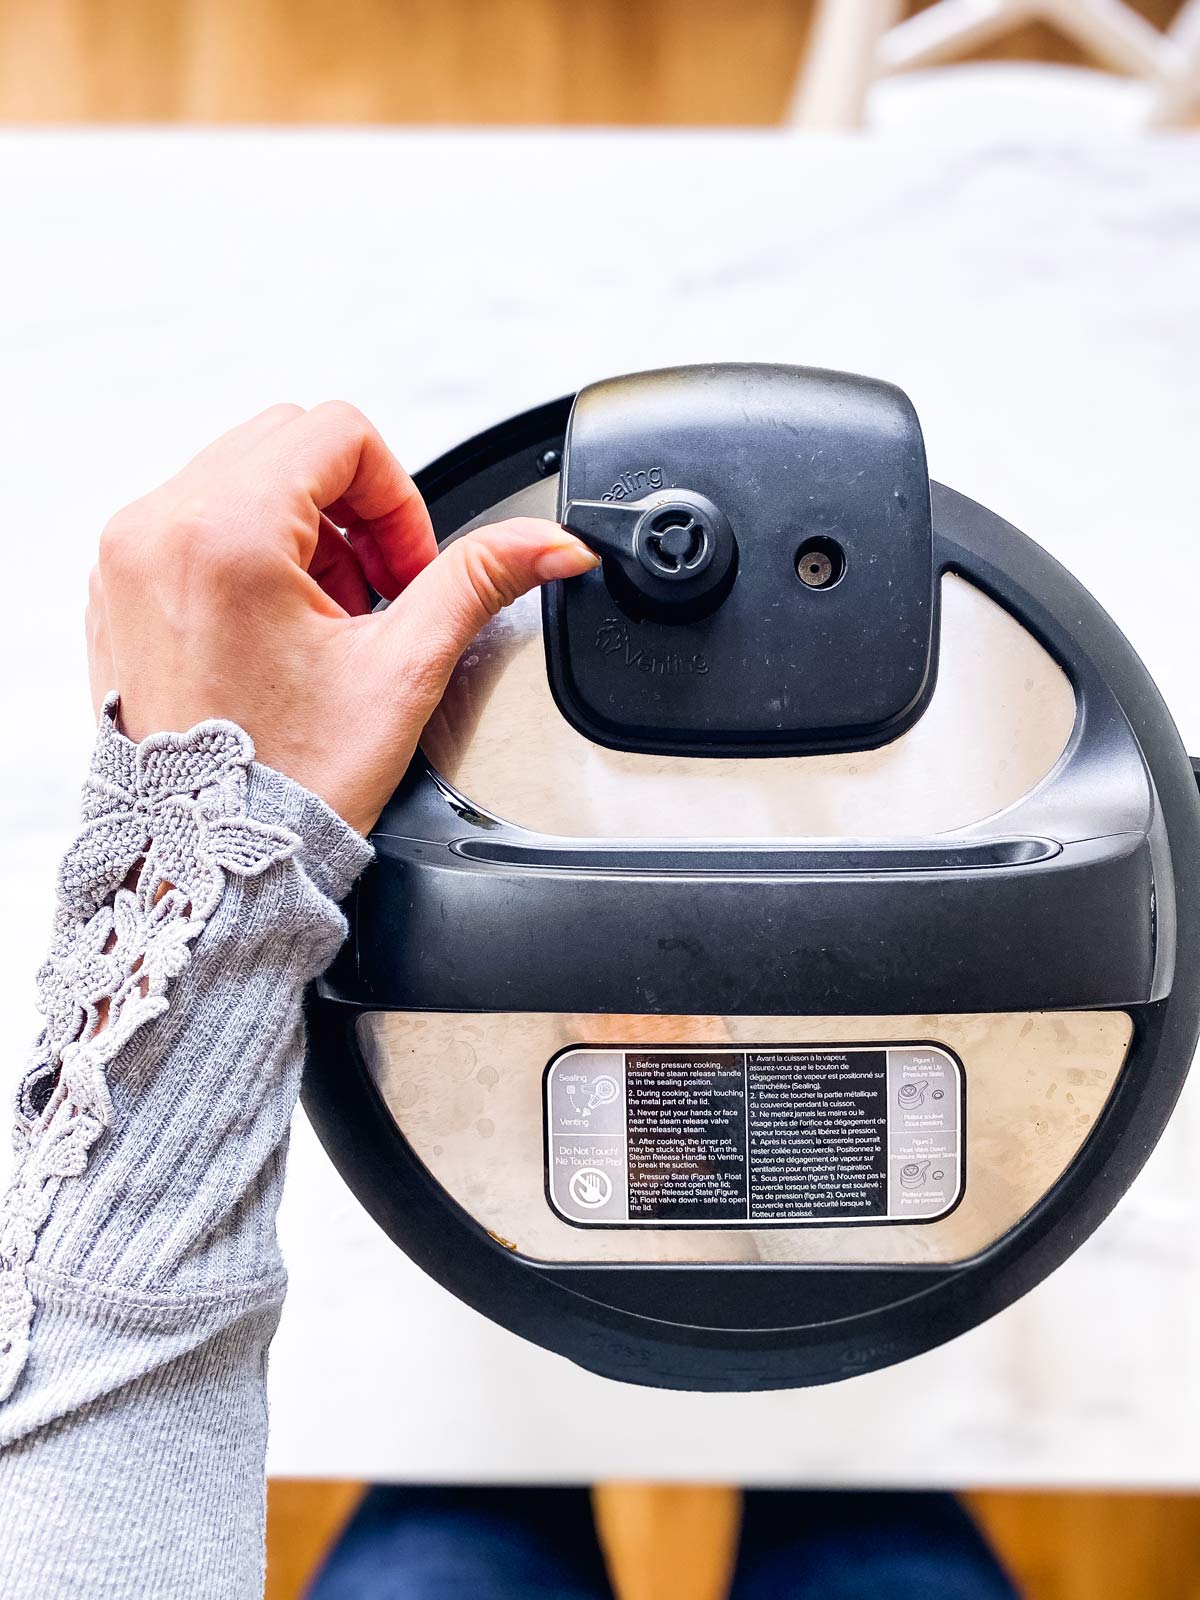
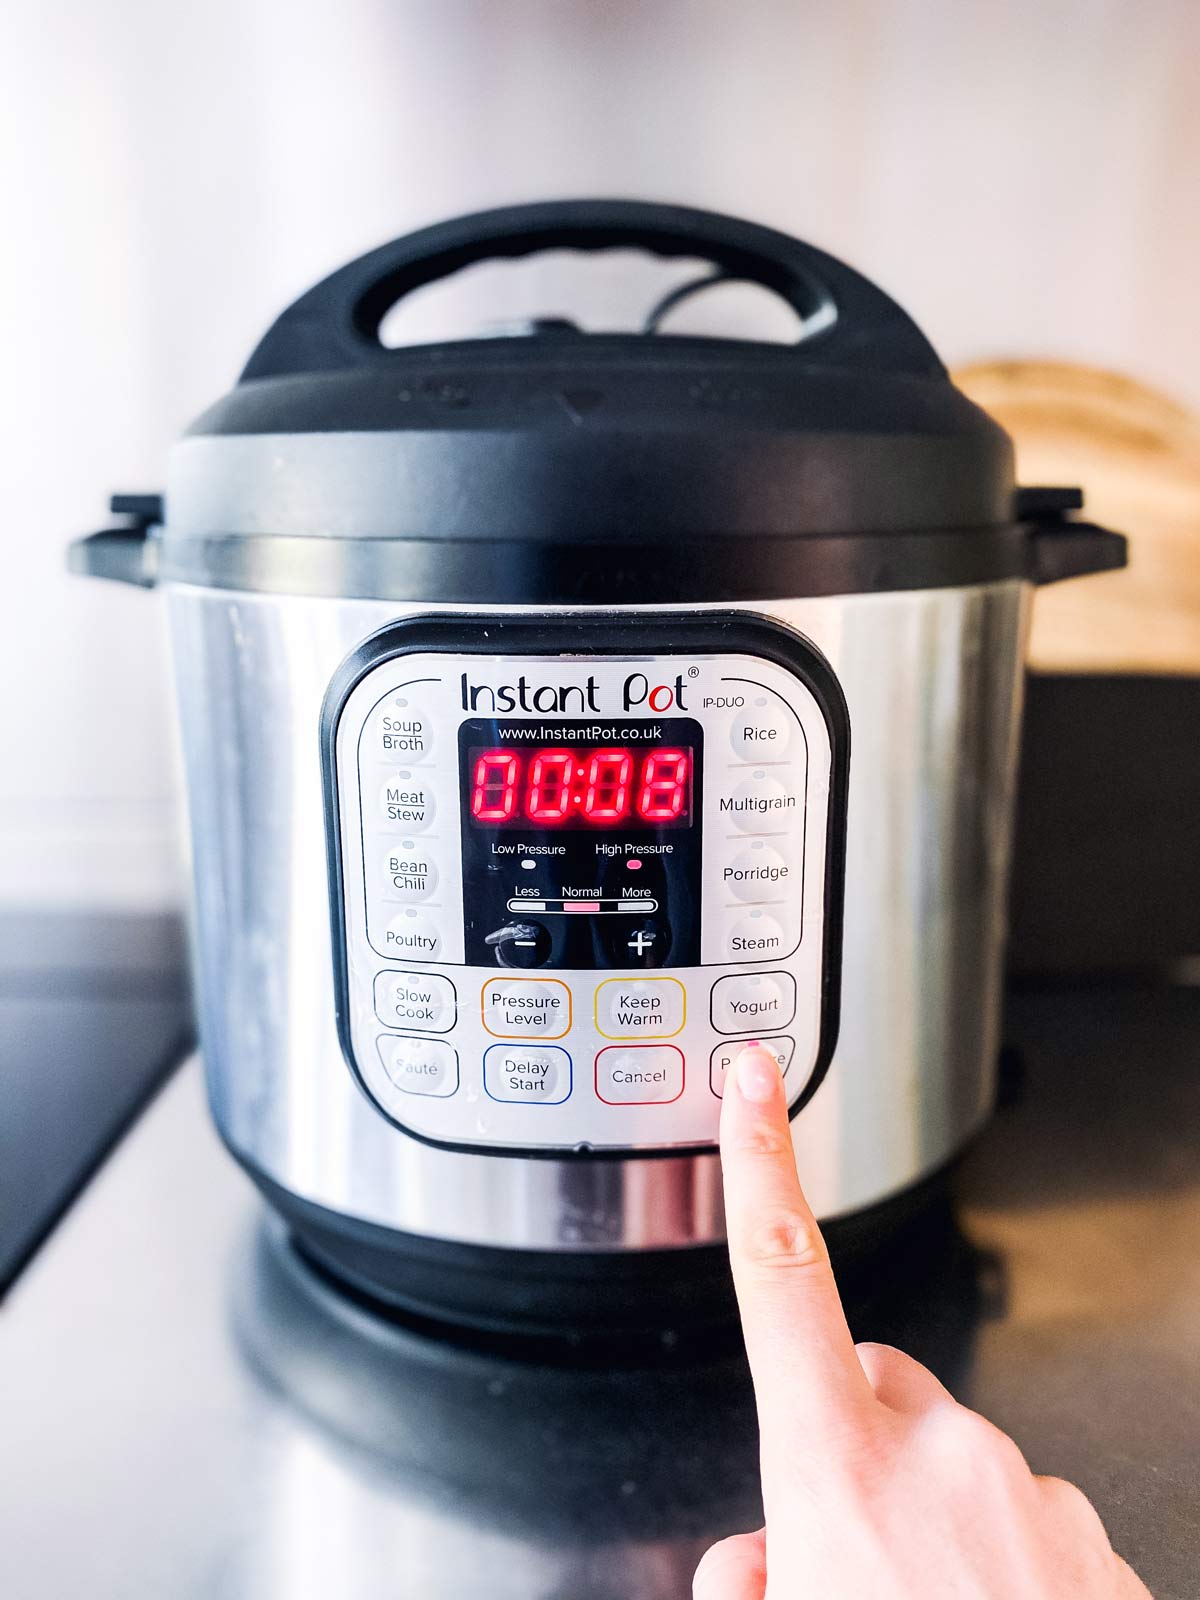
Note about the cooking:
- it will take about 10 minutes for the instant pot to come to pressure
- as soon as it has reached the required pressure level, it will begin counting down the timer
- once the instant pot indicates cooking time is up, you’ll need to do a natural pressure release for at least 10 minutes (just switch off the instant pot and leave it alone)
- if you need to, you can release any remaining pressure manually (according to your manufacturer’s instructions) and open the instant pot
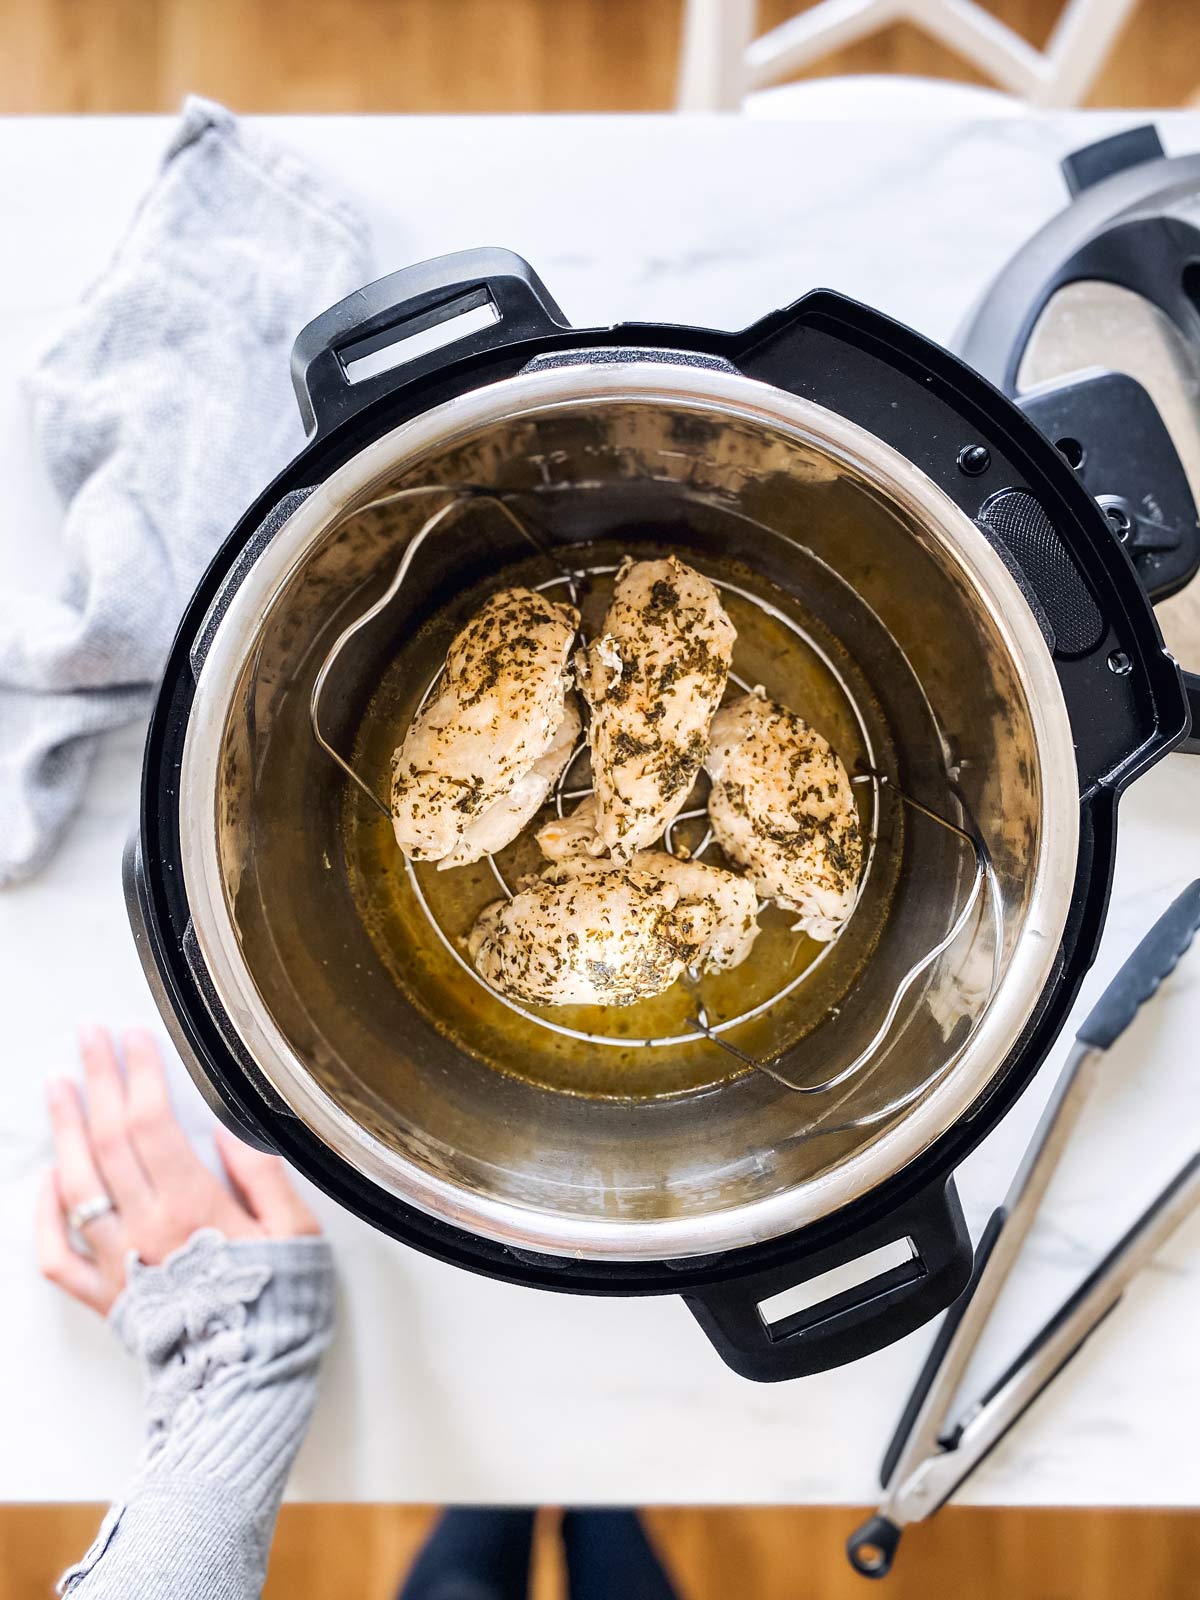
Recipe tips
- Do not skip the 10 minute natural pressure release! If you do, the chicken may come out very tough and rubbery.
- If your chicken breasts are much larger or much smaller than 6 ounces, you’ll need to adjust the cooking time. I would start with 6 minutes for 5oz chicken breasts, and 10 minutes for 7oz chicken breasts.
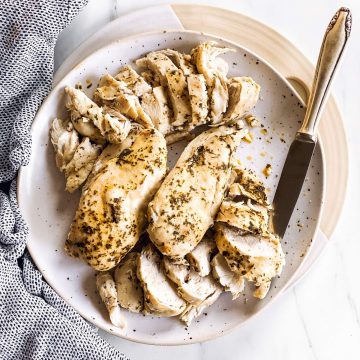
- If you accidentally skipped the natural pressure release or if your chicken lost a lot of moisture during cooking otherwise and feels a little tough (this can absolutely happen with cheaper chicken like I said in the beginning of this post – it definitely happened to me with the chicken in the photos!): It helps to slice or shred the chicken, then place it in the hot broth for 5 minutes before serving to plump it up a little.
Recipe FAQs
Nope, you don’t! You don’t need to brown the chicken to lock in the moisture if you’re cooking it in the instant pot. In fact, I prefer not browning the chicken to avoid ending up overcooking it. It’s still possible to brown it though if you’re looking for the extra flavor. I recommend dialling the pressure cooking time back to 6 minutes if you’re browning the chicken breast before pressure cooking.
Again, no. You can place the chicken on the rack, or place it directly into the broth. If I’m using the chicken in a recipe, I prefer making it on the rack so most of the seasoning stays on the chicken. If I’m planning on eating the chicken breast and turn the broth into a gravy, I cook the chicken without the rack to help flavor the broth.
This is an important thing to know about your specific pressure cooker model. My 6 quart instant pot calls for a minimum of 1 cup of liquid. Please check your manufacturer’s instruction and adjust the amount accordingly.
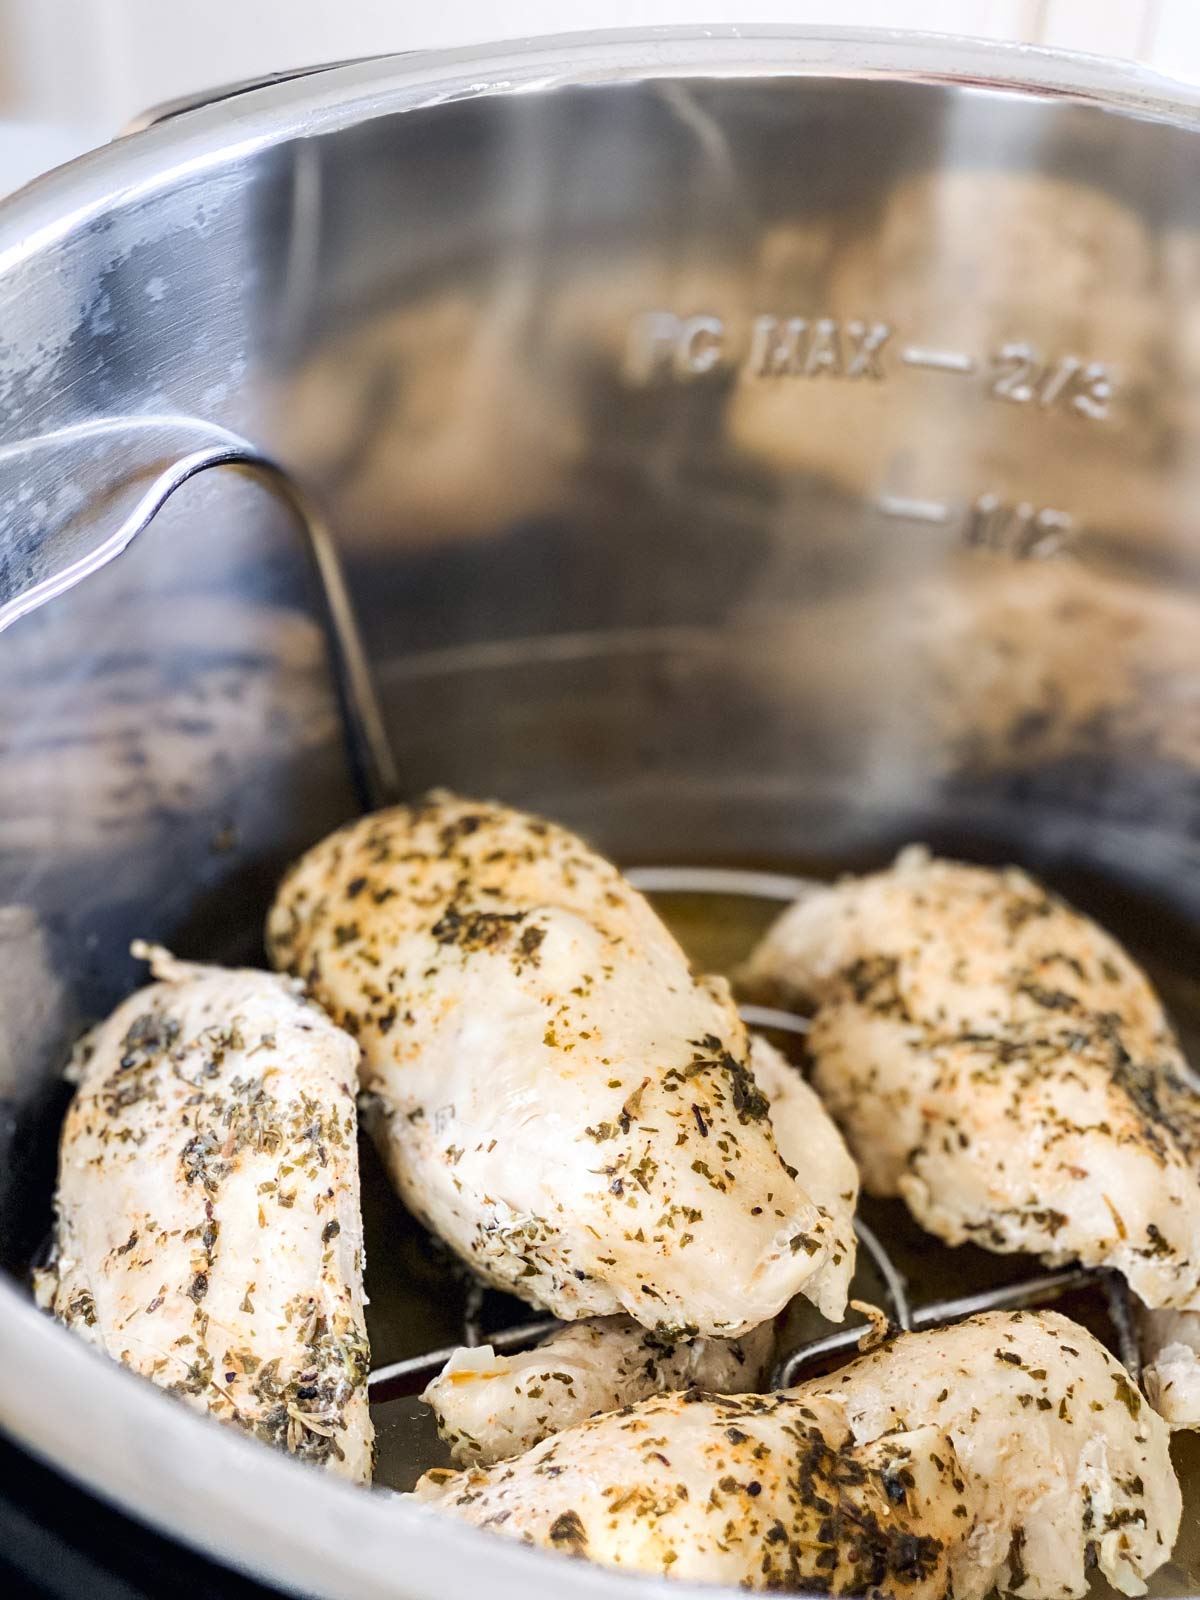
Serving suggestions
- To eat as-is: When I serve the chicken as an entrée, I usually thicken the broth with a cornstarch slurry on sauté once the chicken is done. That way, we have a little sauce without making any fuss!
- To use in a recipe: Just dice or shred the chicken while hot, then let it cool a little. Use as directed in the recipe.
If using this in a THM E meal, do stick very closely to the 1 tablespoon of oil the recipe calls for. You can even cut the oil in half and to 1/2 tablespoon.
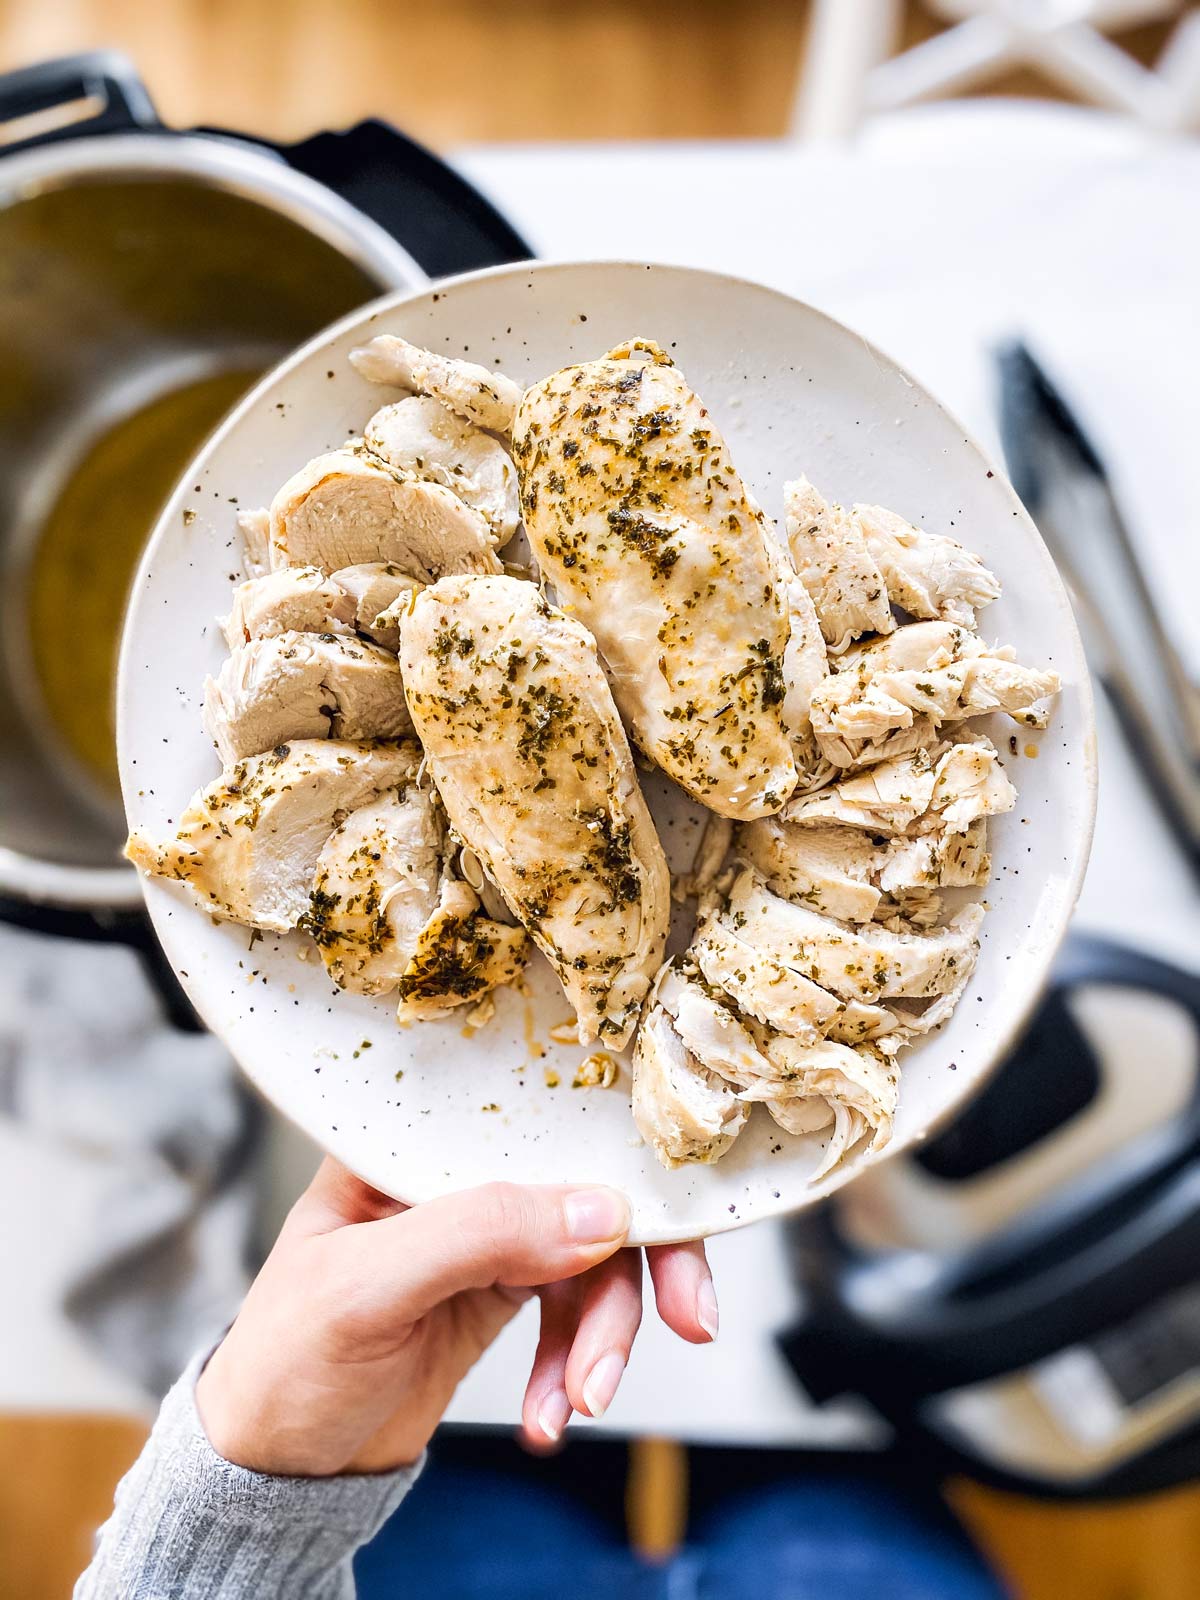
Meal prep tips
If you want to make this ahead as part of your meal prep, let the chicken cool at room temperature until it stops steaming.
Place it in ziptop bags or glass containers and refrigerate it for up to 3 days.
Reheat in the microwave. Keep in mind, chicken tends to really dry out when cooked ahead of time, so I recommend to use a microwave-safe cover on your dish when reheating to avoid further drying out.
More healthy instant pot recipes
PS If you try this recipe, why not leave a star rating in the recipe card right below and/or a review in the comment section further down the page? I always appreciate your feedback! You can also follow me on Pinterest, Facebook or Instagram. Sign up for my email list, too!
Instant Pot Chicken Breast
Ingredients
- 1 teaspoon dried parsley
- 1/2 teaspoon garlic powder
- 1/2 teaspoon onion powder
- 1/4 teaspoon dried thyme
- 1/4 teaspoon ground paprika
- salt and freshly ground pepper to taste
- 1 tablespoon olive oil
- 4 boneless, skinless chicken breasts each about 6oz
- 1 cup chicken broth
Instructions
- Season chicken: Combine the seasoning and olive oil and brush all over the chicken breasts.
- Place in instant pot: Place the steamer rack in the instant pot (see notes), pour in the chicken broth and place the seasoned chicken breasts on the rack.
- Set instant pot timer: Close the lid, set the valve to the “sealing” position. Choose “pressure cook” and set the timer to 8 minutes.
- Pressure cook: Building the pressure will take around 10 minutes, then the instant pot will start counting down the 8 minutes. Once the cooking time is up, switch off the instant pot and leave it alone for 10 minutes to naturally release the pressure. After 10 minutes, release any remaining pressure manually and open the instant pot to remove the chicken.
Notes
Rack or no rack?
You can place the chicken on the rack, or place it directly into the broth. If I’m using the chicken in a recipe, I prefer making it on the rack so most of the seasoning stays on the chicken. If I’m planning on eating the chicken breast and turn the broth into a gravy, I cook the chicken without the rack to help flavor the broth.Recipe tips
- Do not skip the 10 minute natural pressure release! If you do, the chicken may come out very tough and rubbery.
- If your chicken breasts are much larger or much smaller than 6 ounces, you’ll need to adjust the cooking time. I would start with 6 minutes for 5oz chicken breasts, and 10 minutes for 7oz chicken breasts.
- If the chicken feels a little tough (this can absolutely happen with cheaper chicken like I said in the beginning of this post – it definitely happened to me with the chicken in the photos!): It helps to slice or shred the chicken, then place it in the hot broth for 5 minutes before serving to plump it up a little.
Ingredient notes
- Chicken: The biggest difference I notice in higher quality chicken is how much less it shrinks during cooking. So do make sure to keep this in mind when choosing which chicken to buy for this recipe.
- Oil: Feel free to use melted butter in place of the oil for a richer taste.
- Seasoning: This is my go-to seasoning for chicken. Feel free to make up your own seasoning. Sometimes I use seasoning salt to make it easier, but using the individual spices does really add more flavor.


ask a question or leave a review: